AT88CK9000-8MA Ver la hoja de datos (PDF) - Atmel Corporation
Número de pieza
componentes Descripción
Fabricante
AT88CK9000-8MA Datasheet PDF : 14 Pages
| |||
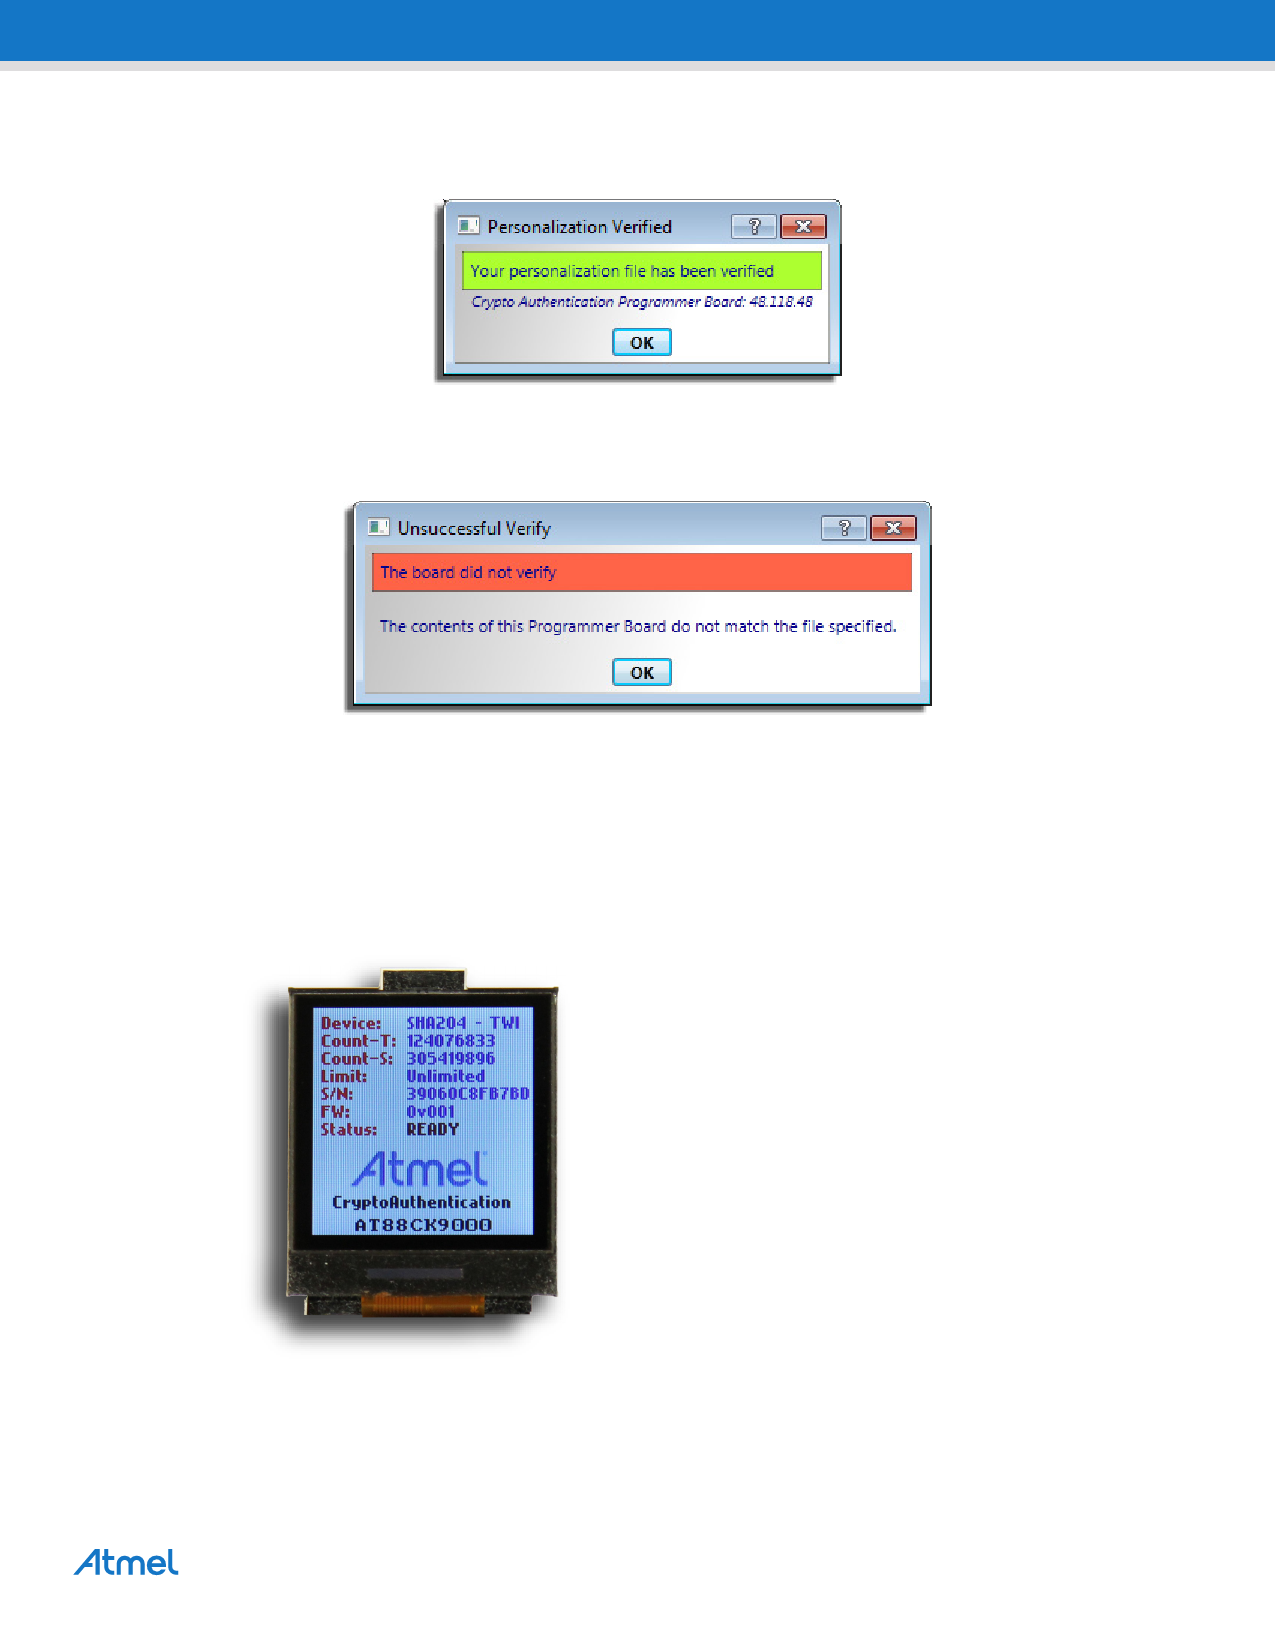
5. Select Verify.
If successful, the verified confirmation dialog box will be displayed.
If verify is not successful, the unsuccessful verified dialog box will be displayed.
6. Once the board has been successfully programmed, either:
Unplug the USB cable from the board or
Press the reset button located on the back of the board.
The AT88CK9000 display should display the communication panel screen as shown below.
Device = Device Type and Protocol
Count–T = Lifetime Count of Programmed Devices
Count–S = Session Count of Programmed Devices
Limit = Configurable Limit Per Session
S/N
= Unique Serial Number
FW
= Firmware Revision
Status = Board Status
7. Congratulations, your Atmel AT88CK9000 board is up and running.
Atmel AT88CK9000 Secure Personalization Kit for CryptoAuthentication [User Guide] 11
8821A–CRYPTO–6/12
Share Link: 